1. APPARATUS DIAGRAM:
This can be a drawing, photograph, or schematic copied from the handout. You can do this any way you like as long as the necessary information is there. Include enough information to identify and reassemble the apparatus at a later date, including serial numbers if applicable.2. CONNECTION DIAGRAM:
Draw all your connections. This can be done as part of the diagram, but it's usually clearer to make this separately. Make separate diagrams for electrical connections, air, water, etc.For optics experiments, draw the optical layout, including the distances between elements, precisely what each element is (e.g. "plano-convex lens, focal length = 30.0 mm"), and its orientation. Again, include enough detail to reassemble the setup at a later date.
3. SETTINGS:
Record them all, even the ones you don't change. Very often some obscure knob you aren't even aware of at first can have a big effect on your results if it gets changed without your knowledge. Record everything. Ink is cheap.4. PROCEDURES AND RAW DATA:
Record what you did and what happened when you did it. Every scientist has a certain amount of "play time" where they get familiar with the instrument and figure out exactly how they are going to take their data. You can be sloppy at first, but when you decide to start taking data "for real" you have to start writing things down and be professional about it.Oh, and I shouldn't have to tell you (but I will anyway) not to throw out any data points because they don't "make sense." Once you have decided to do the experiment for the record, keep all the data that comes in. Report what you really see, not what you think you were supposed to see.
5. ANALYSIS AND CONCLUSIONS:
Do all of your analysis in the lab. No experiment in this class is designed to require extensive post-lab analysis, and you are not required to write formal reports.EXAMPLE
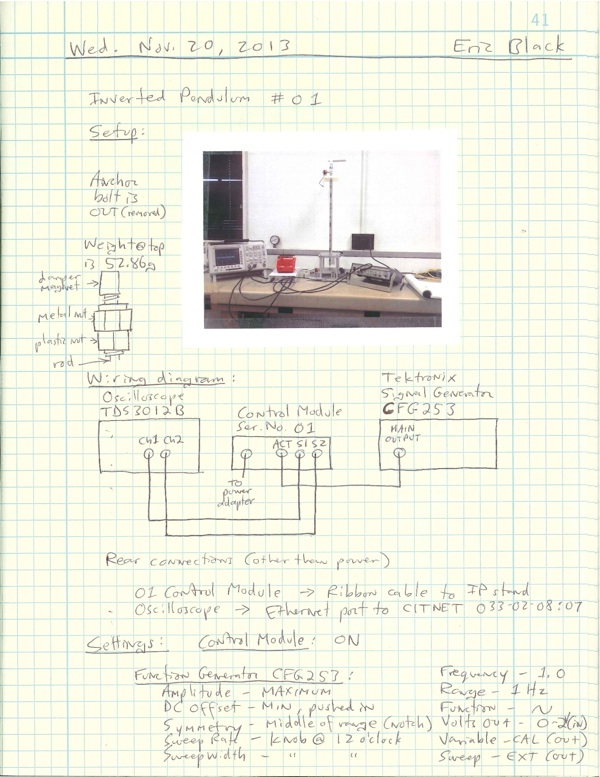
Here is an example of the apparatus diagram, wiring diagram, and settings.

Note that some of the knobs on the function generator don't have scales, so I have recorded their positions as best I could, e.g. "12 o'clock" or "max." You could also sketch them.
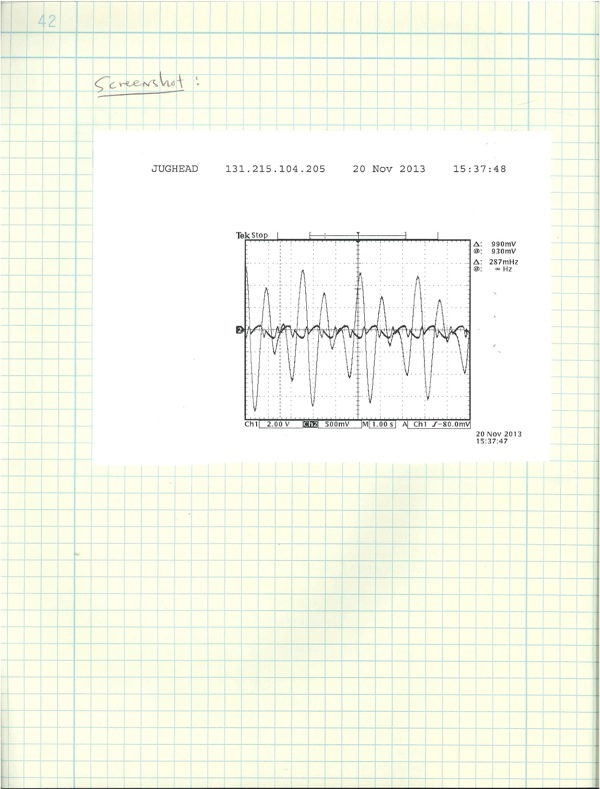
Note also that I have not included the settings on the oscilloscope, and that is because they are recorded in the screenshot.
Freshman physics lab
Senior physics lab
http://pmaweb.caltech.edu/~phy003/notebooks/notebooks.html
Last Updated January 25, 2015
Last Updated January 25, 2015